
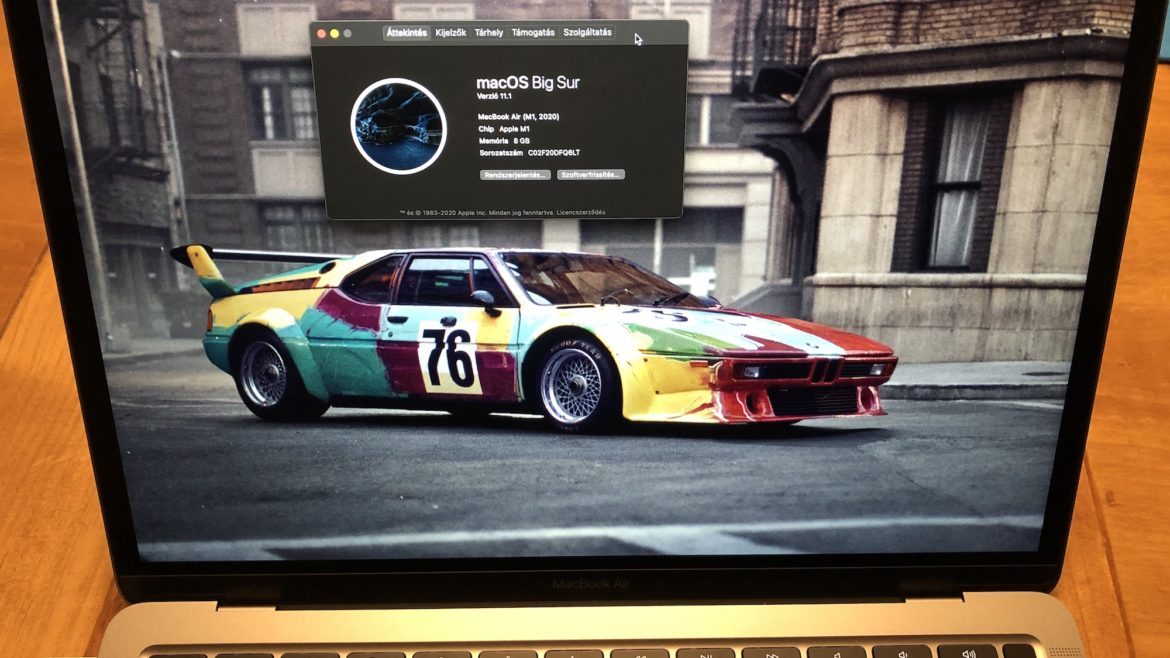
My last two days have been about installations and updates. Yesterday I had to install an Apache, PHP, MySQL combo on my new Macbook Air M1, and today I did the long overdue Ubuntu 20.04 update on my production server. This post is about the Ubuntu upgrade, but maybe I will also describe the M1 Silicon LAMP installation, it was a bit more challenging.
My server has been with Digital Ocean for a year and a half, then it came with Ubuntu 18.04, but it is already 2021, and Focal Fossa came out last year and it was time for the upgrade. There is a detailed English howto on the Digital Ocean website, but if I had only followed it, I would be in trouble now, because I had a small problem during installation (see later).
1. Preparations
I saved three things:
- webserer files
- MySQL databases
- /etc directory
I started by dumping the MySQL databases, a 3-line batch file (let’s call it “backup-sql.sh”) with the following content is suitable for this (“nano backup-sql.sh” command can be used to edit the file, which creates it immediately). You can also use Midnight Commander, but first create it with the “touch backup-sql.sh” command):
#!/bin/sh
for DB in $(mysql -e 'show databases' -s --skip-column-names); do
     mysqldump $DB > "$DB.sql";
done
It also needs execution rights, because in Linux new files do not get such by default:
chmod 500 backup-sql.shAfter running, an SQL file is created from each database in the current directory. I don’t want to deal with what it takes to prevent the MariaDB password from being asked for the logged-in user, but for those who are interested, here is an article about it. So we now have execute rights to the file, we simply run it:
./backup-sql.shOnce this is done, the /etc directory can be added. This is useful because if, after the Ubuntu 20.04 update, the installer overwrites something and then it won’t work (e.g. postfix/mailing, SSH, openssl, whatever), we can restore it from the old config file, and see if what worked before, why not now, so we can compare the two different version. This command is also run at /var/www/html in the terminal (or from where we will run the rsync):
root@xact:/var/www/html $ tar -zcvf ./backup-etc.tar.gz /etc
The rsync command looks like this under MacOS (user@1.2.3.4 is the address of our server, and /var/www/html is the directory where we have the files to be backed up, obviously the previous command called backup-sql.sh it is also worth putting it here and running it from here so that the SQL dumps are also placed here):
rsync -avr --progress -L user@1.2.3.4:/var/www/html/ /Users/macusername/Documents/backup-directoryThe -L switch means that rsync will follow the symlinks and copy them over as well. I don’t have much space on the first partition, so most of the websites are under /mnt (I mounted another volume here). Due to the standards of the Apache configuration, it is symlinked under /var/www/. If the -L switch is omitted, it will copy only the physical files, so only those under /var/www/html.
This takes a while, depending on how many virtual hosts (websites) there are on the webserver and how many files there are.
The backup is done. Before we start the upgrade, it is worth SSH into the server with a user with SUDO rights on a terminal and switch to root, in case a crash occurs during the installation, we have an extra leg. If we do not do this and the install stops, we may not be able to SUDO, i.e. we will lose control over our system. So before do-release, we SSH into the server with a user with SUDO rights (this is important!):
ssh user@1.2.3.4Then switch to root user:
sudo suI started the installation in Digital Ocean’s built-in Java console from a browser, but it can also be done from SSH (but even then, start a separate SSH session as described above).
2. Installation
After entering the shell, the first thing you should do is stop essential running services, do not start an operating system update on a live system. I stopped Apache and MySQL, but if you have NGINX with PHP-FPM or anything else, you should also stop them:
sudo systemctl stop apache2Then stop the MySQL too:
sudo systemctl stop mysqlOne more check, to make sure it stopped:
sudo systemctl status apache2sudo systemctl status mysqlIf we see Active: inactive for both, we can start the update with this command:
sudo do-release-upgradeThen the following screen will appear:
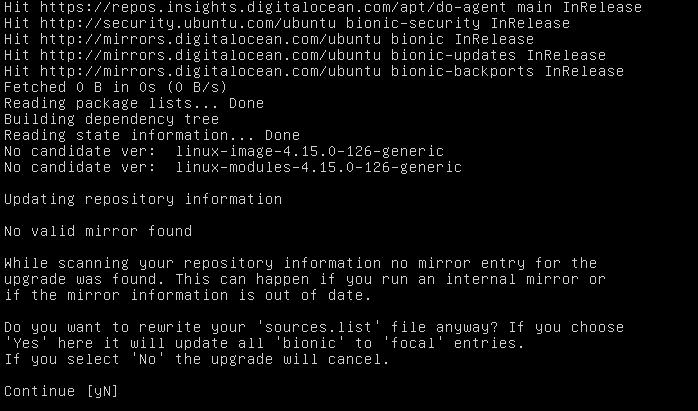
Here, of course, press ‘y’, if you press ‘N’ (case sensitive!), the installer will exit. Then we’ll see something like:
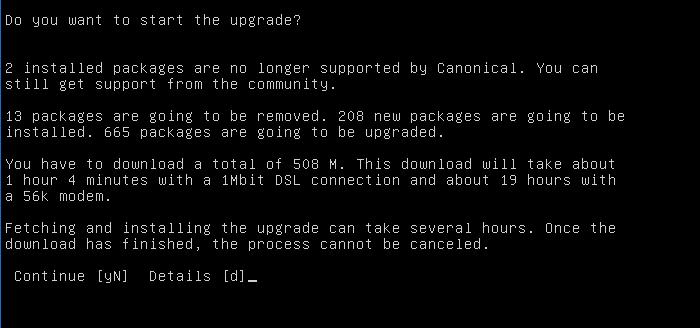
It informs here that the new Ubuntu 20.04 system no longer supports 2 packages compared to the current one, 13 packages will be removed, 208 packages will be uploaded and 665 packages will be updated. It’s funny that if we went back 20 years in time, when we still used a 56k modem (who was born around the 80s, like me), then the 508MB of installation data would be downloaded in 19 hours 🙂 I pressed it here a ‘d’ because I was curious about the details. If you are not interested, press ‘y’ (case sensitive!). So when I pressed ‘d’ I got this:
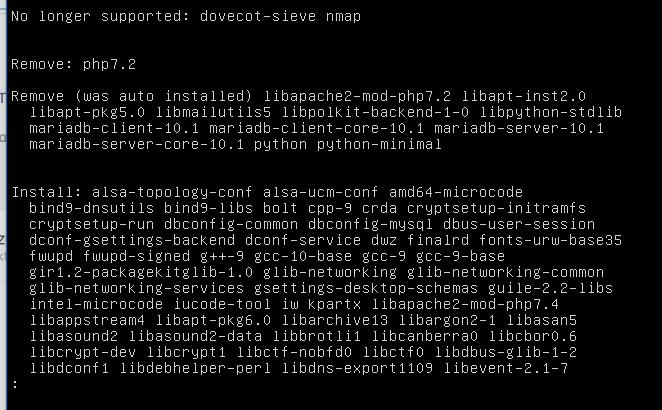
PHP 7.2 will be removed, which is not a problem, because I wanted to upgrade to 7.4 anyway (in fact, 8.0 is already here), and a few Apache2 modules too. And then here is this question, which makes it worthwhile to SSH in a separate terminal session:
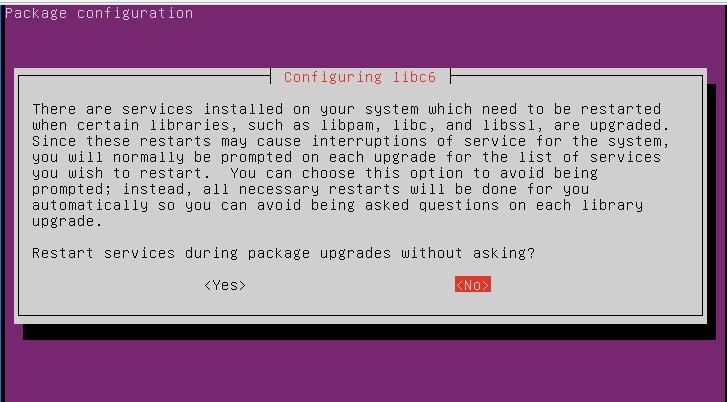
Here it says that a lot of services will be restarted and if something breaks, you won’t be able to log in (not even via SSH).
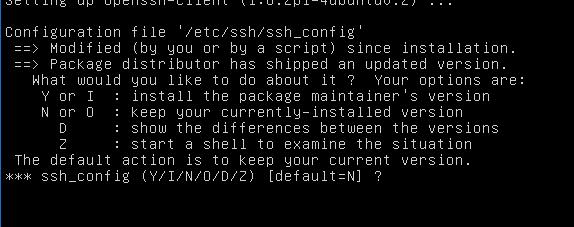
After that, we will see a lot of things on the screen and the Ubuntu installer will ask many things. Especially ones where the existing config file differs from the one we want to install. I overwrote most of it, mostly the ones I knew I hadn’t touched. However, I left the 18.04 version of what I adjusted a lot (e.g. opendmarc). I haven’t had any problems until now:
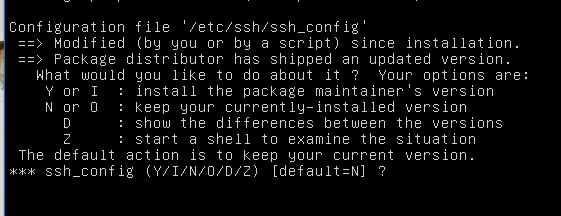
I’ve pressed a ‘D’ here to show the differences. Anyway, this is the SSH config, where I setup like so that it is not possible to SSH to the server with a password, only with an SSH key, etc. However, for some reason, after pressing ‘D’, the system threw me back here:
It was also a bit strange that I would get this screen back after a question in the middle of the installation. Since it had been doing the installation for a while, I even thought it was completed, so I checked the server version:
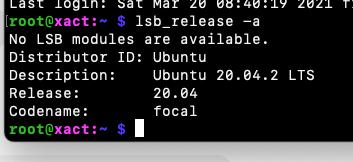
Everything seems OK, right? Unfortunately no, all that happened here was that the basic package was already updated, so the content of the /etc/issue file was updated to the new operating system version number, but everything else remained the same. So the installation was aborted. I checked the PHP version, which was still 7.2 on 18.04, but it should be 7.4 on 20.04, and my suspicions were confirmed:

I thought I would enter the do-release-upgrade command again, but it didn’t help:
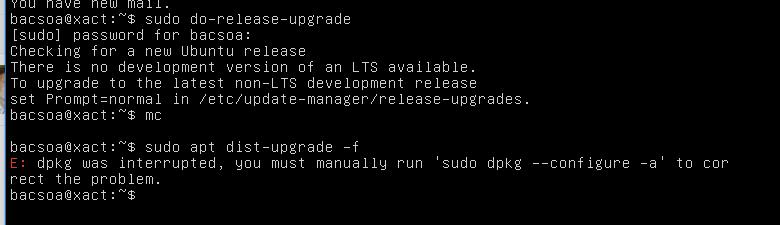
The problem is already visible here, the installer tells do-release-upgrade that there is no developer version, i.e. the system is already the latest. However, when dist-upgrade -f (‘-f’, i.e. force switch is required!) command is entered, it appears that the dpkg package manager stopped during the update, so enter this command:
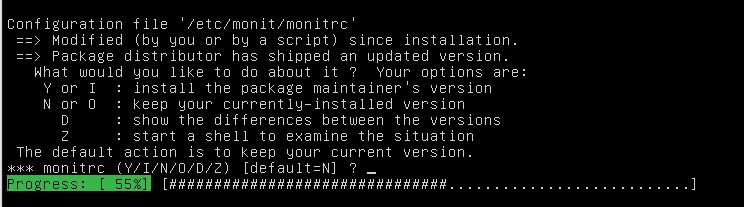
sudo dpkg --configure -aSo it was good, dpkg started to continue the update process. The question came again:
Now, instead of show the differences (the installer stopped here first, and I didn’t care because I had already backup the entire /etc directory), I overwrite the old one with the latest config file. Then came up a lot of similar questions, I pressed Y for almost everything (except e.g. opendmarc). Some errors were encountered:

The dpkg completed, but lxd-client failed to update. Then I re-enter this:
sudo apt dist-upgrade -fThen started to update again, including this issued LXD client:
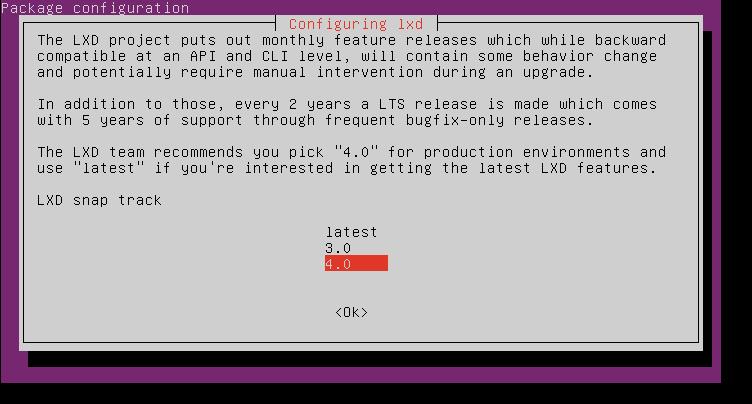
I have no idea what it was, so I pressed a ‘latest’ (even though the installer recommended 4.0). The update process continued, and then came this:
What I knew I hadn’t touched after configuring 18.04 (this was my first Ubuntu version) I overwrote with the new version (so I pressed ‘Y’). After it finished updating the packages, it also wanted to update the GRUB:
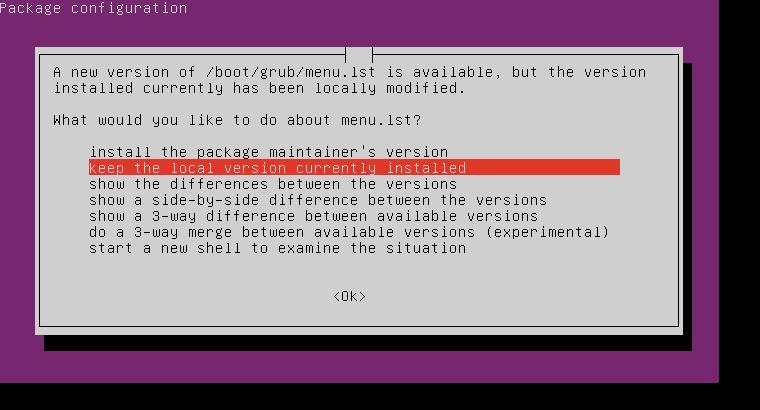
Since there is no other operating system on my server, only Ubuntu, I chose the ‘package maintainer’s version’ option here. There are also remain config files, for example for Midnight Commander:
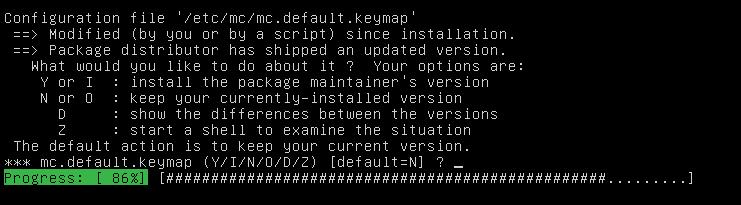
I accidentally overwrote this, so on 20.04 I had to setup again so that clicking backspace goes back a directory up (since this setting is stored in mc.keymap file, see here for a howto). Then came the Opendkim config question:
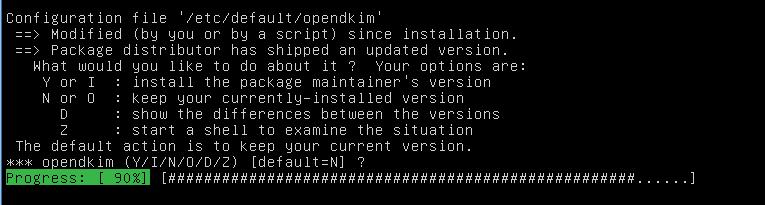
I pressed N, because I spent a lot of time authenticating my email addresses, and I don’t need to setup again. Almost in the end there was another one like this:
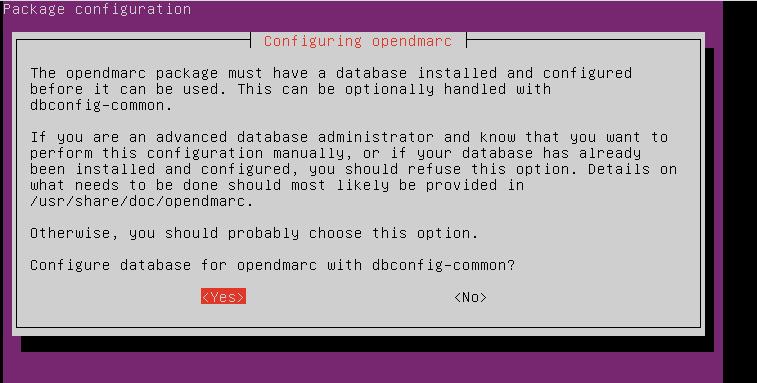
I chose Yes here because I want to set this manually in the future. Some questions about databases, passwords, etc.:
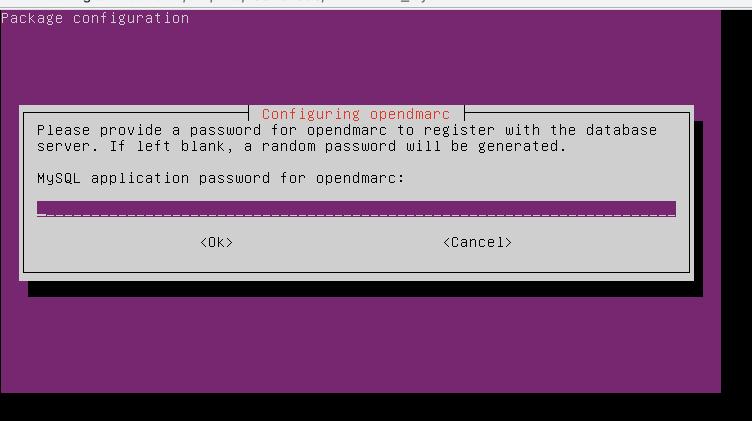
After that, the installation was finished, which was indicated by a short ‘done’ message. After restarting, I pressed an update and removed the no longer used packages (do-release-upgrade would do this for us anyway):
sudo apt autoremoveThen I restarted the server:
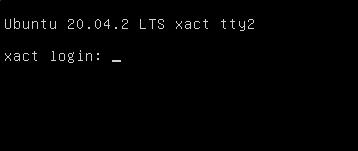
sudo init 6After restarting, the usual screen welcome me:
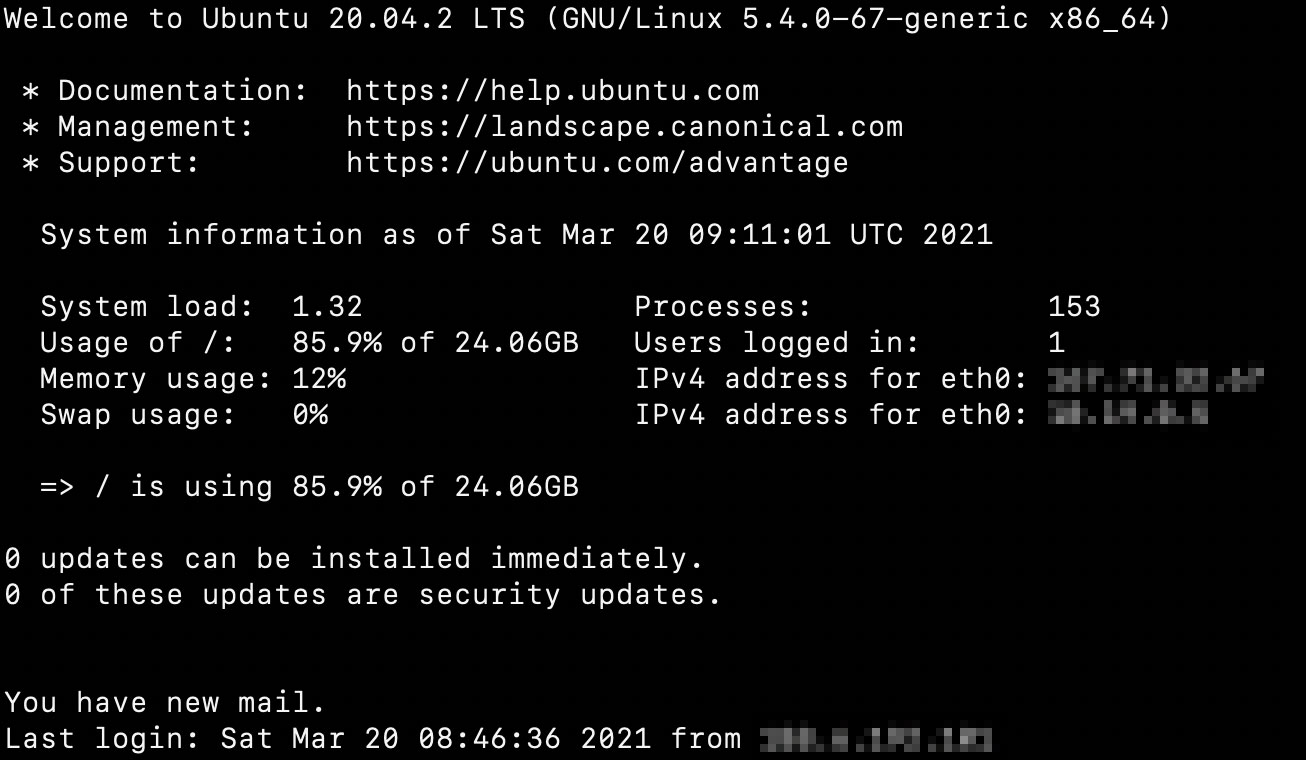
I checked the php version again:

All’s well that ends well. Thanks to Zoltán Szécsényi for the help with the installation!


