Blog

Funny easter egg dino platform game in the Chrome browser

Funny easter egg dino platform game in the Chrome browser 1318 877 bacsoa

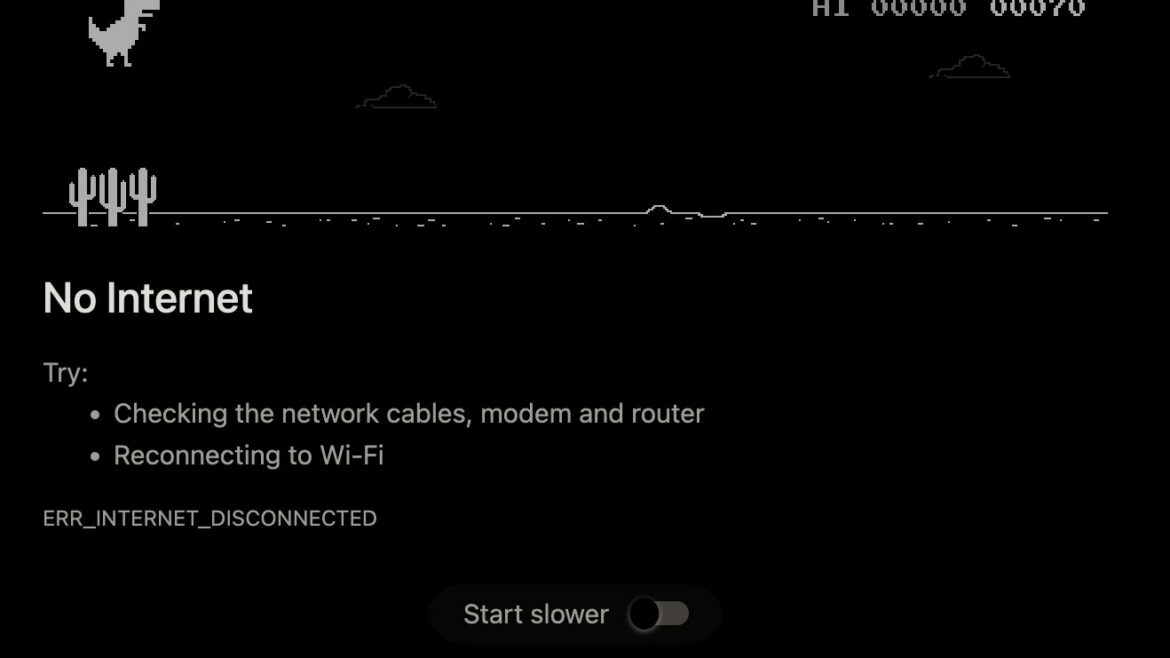
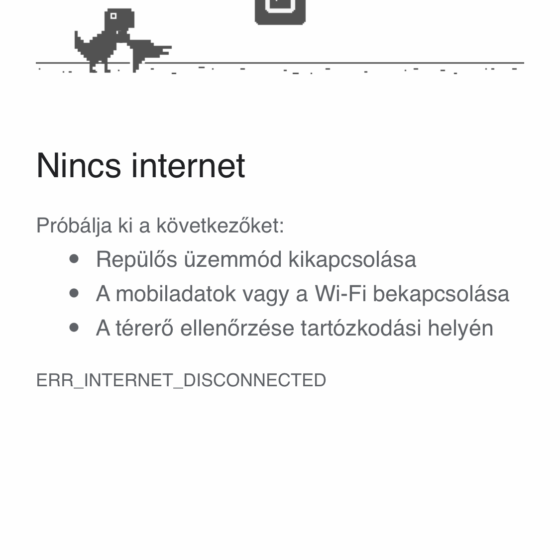
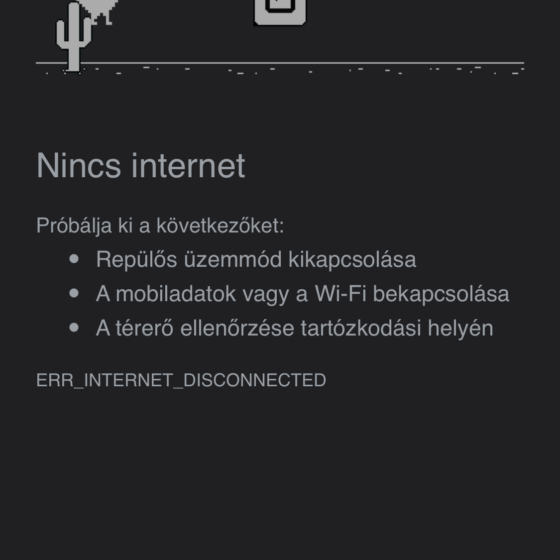
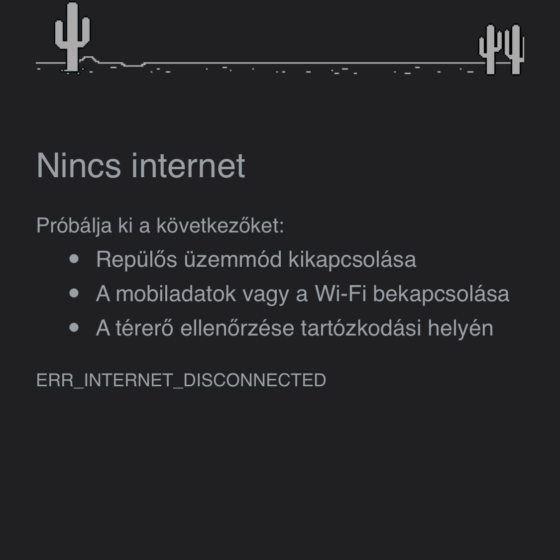
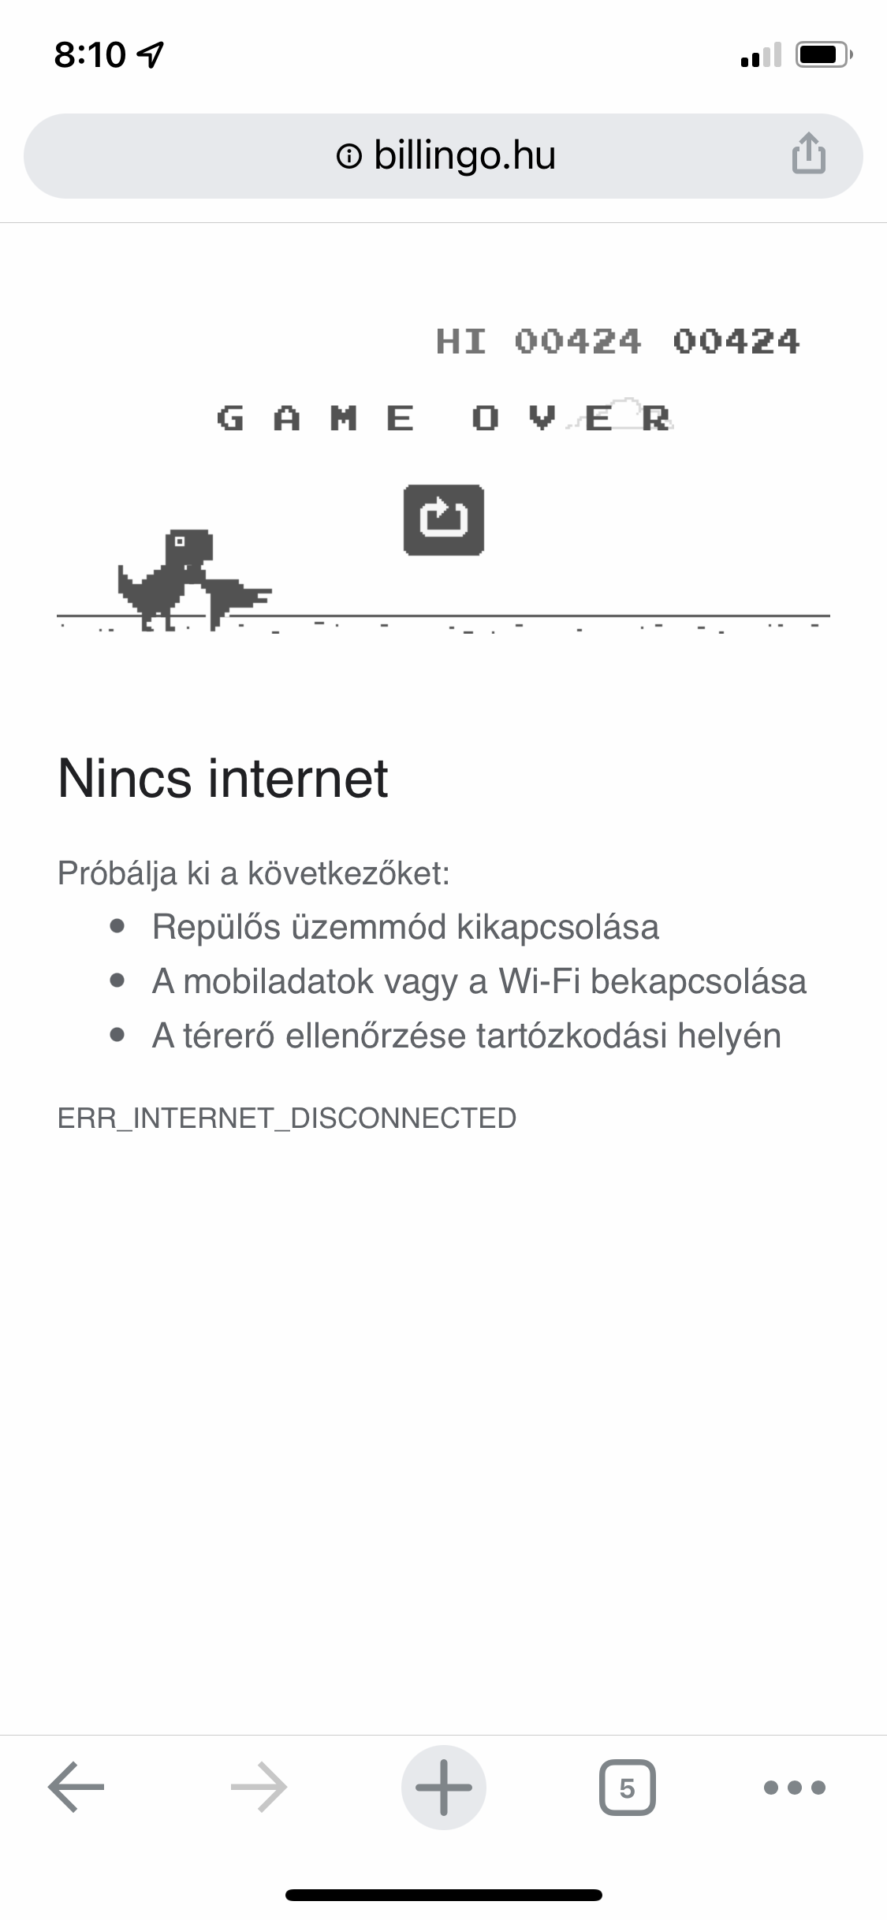
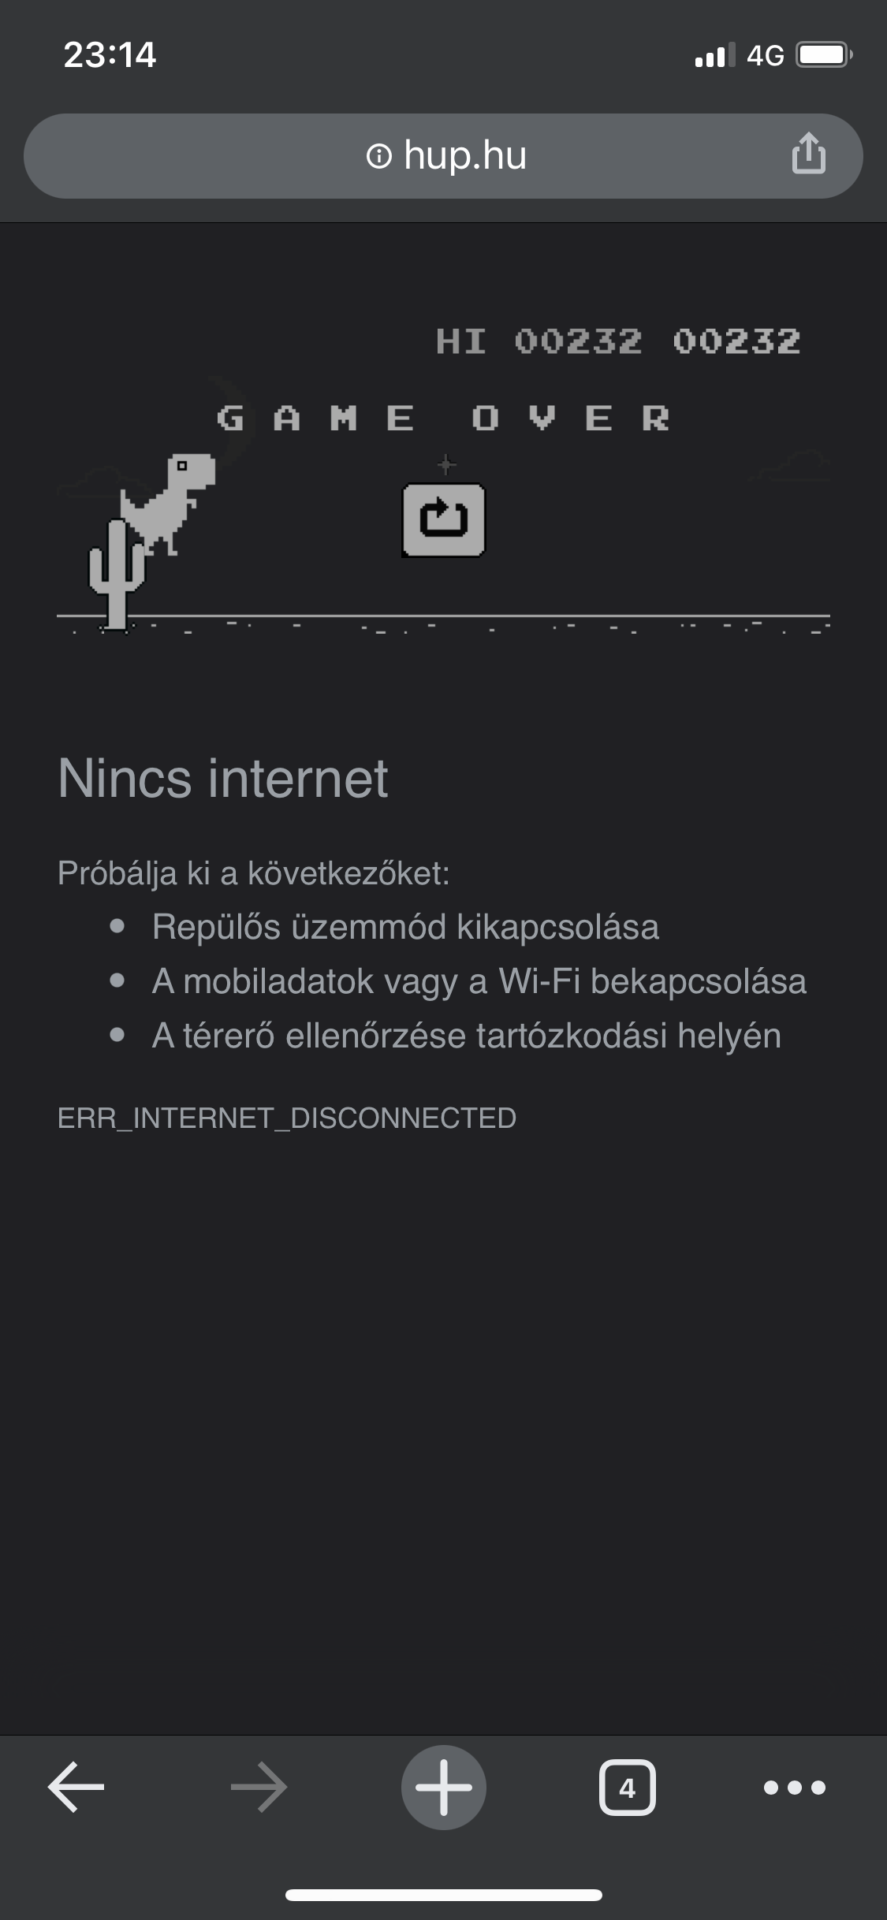
Yesterday, while reading hup.hu, the internet goes off and the usual dinosaur appeared, I think everyone knows it.

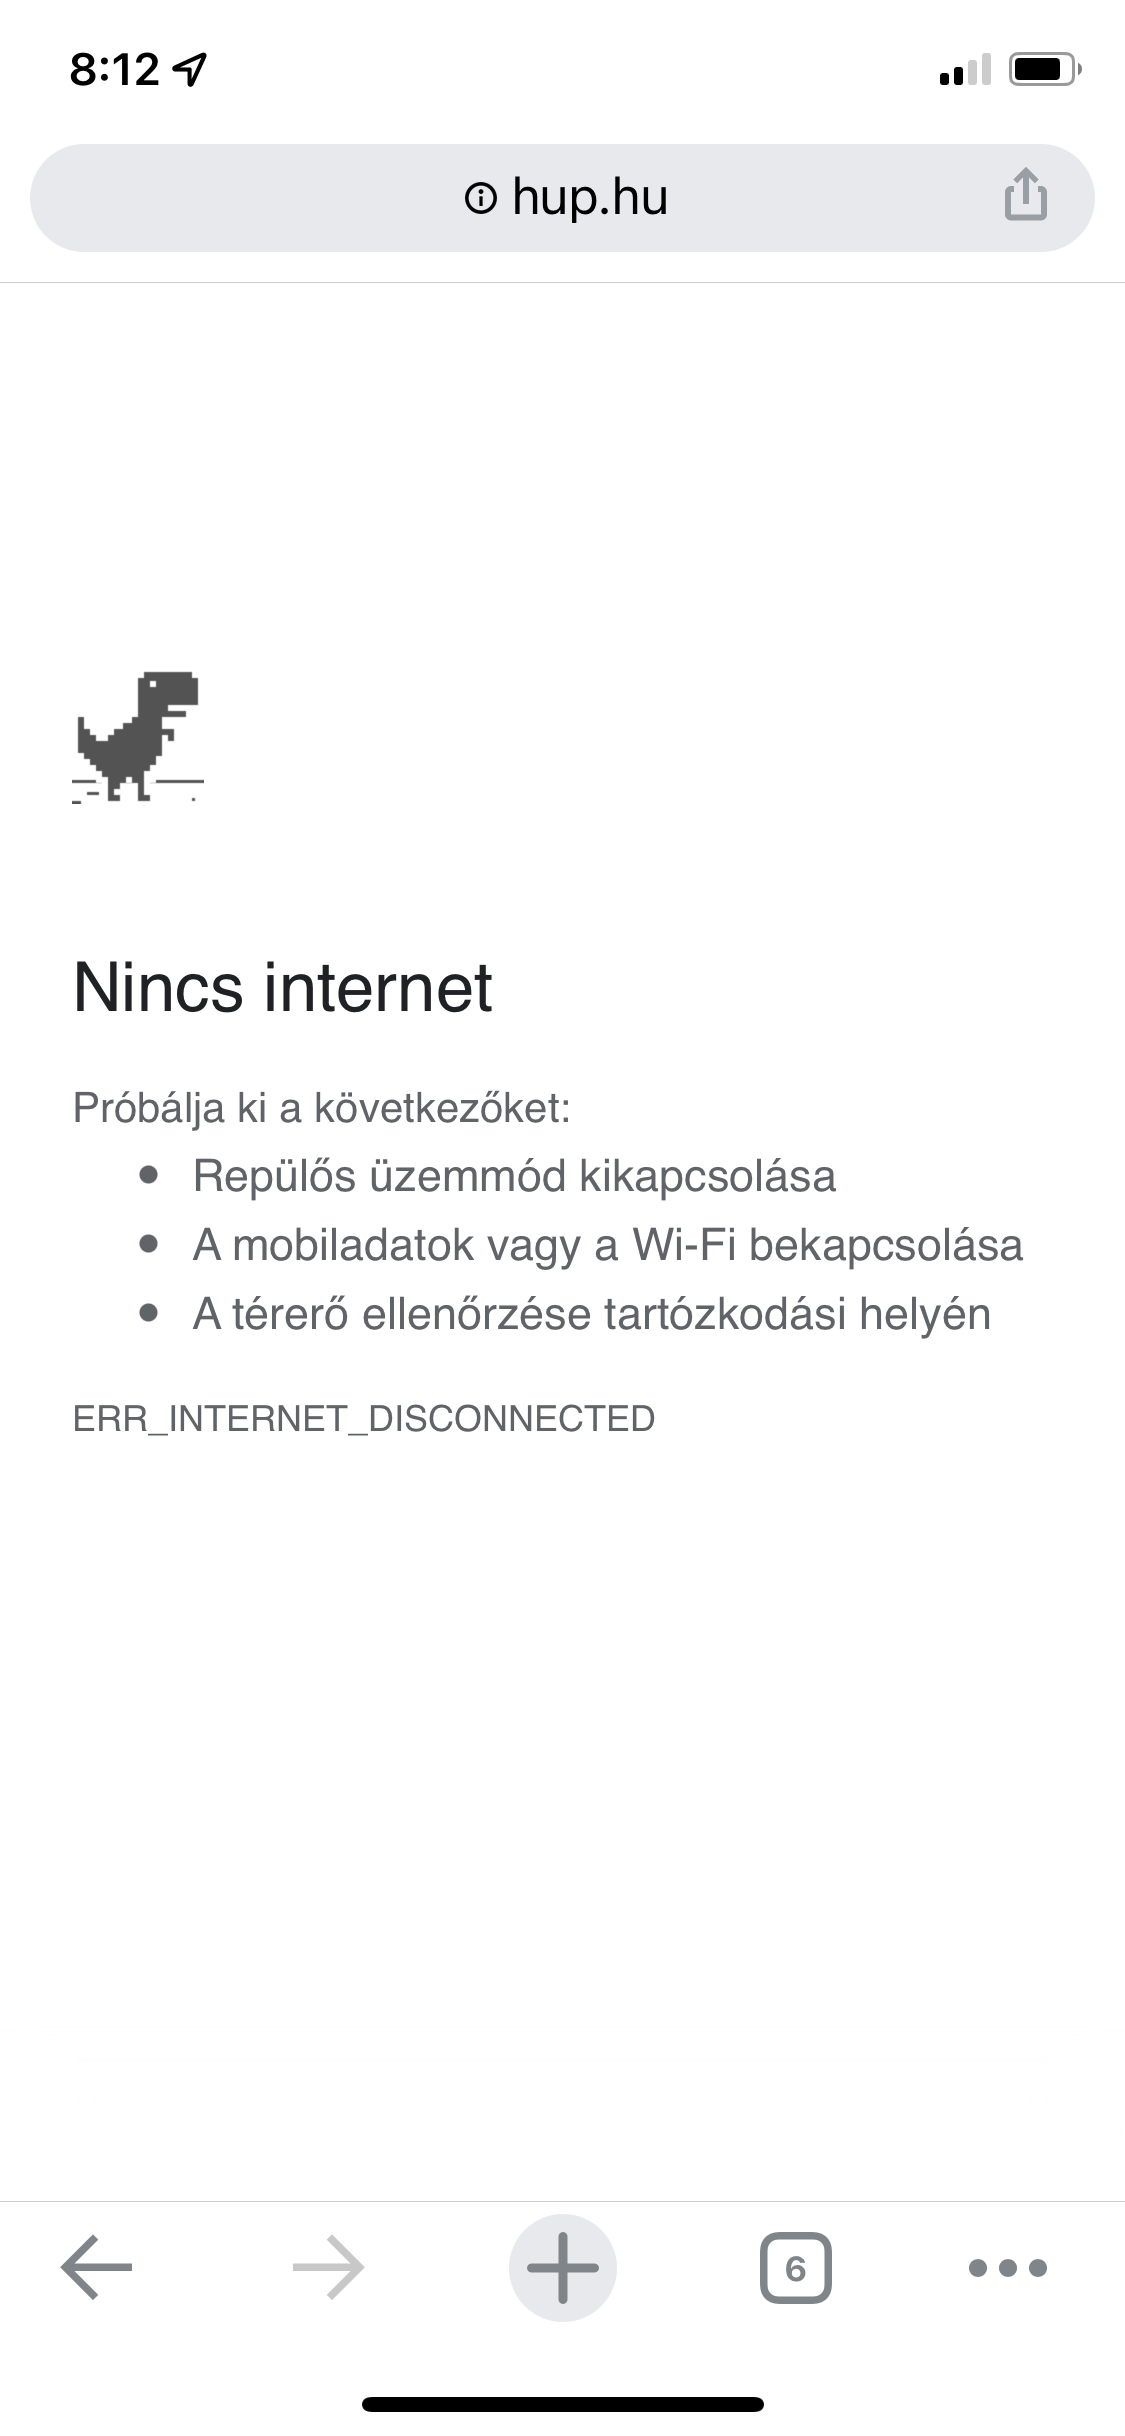
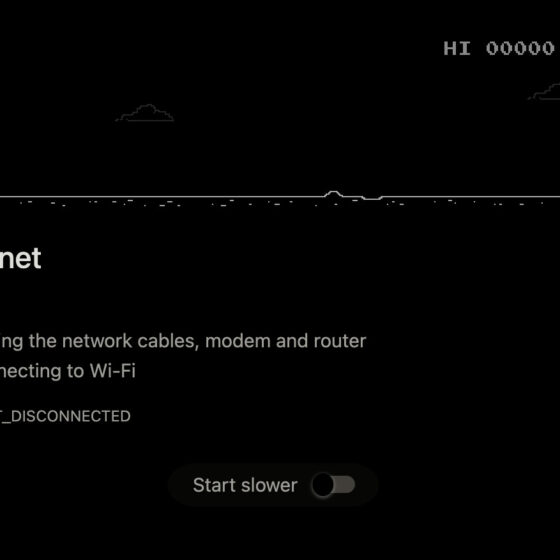
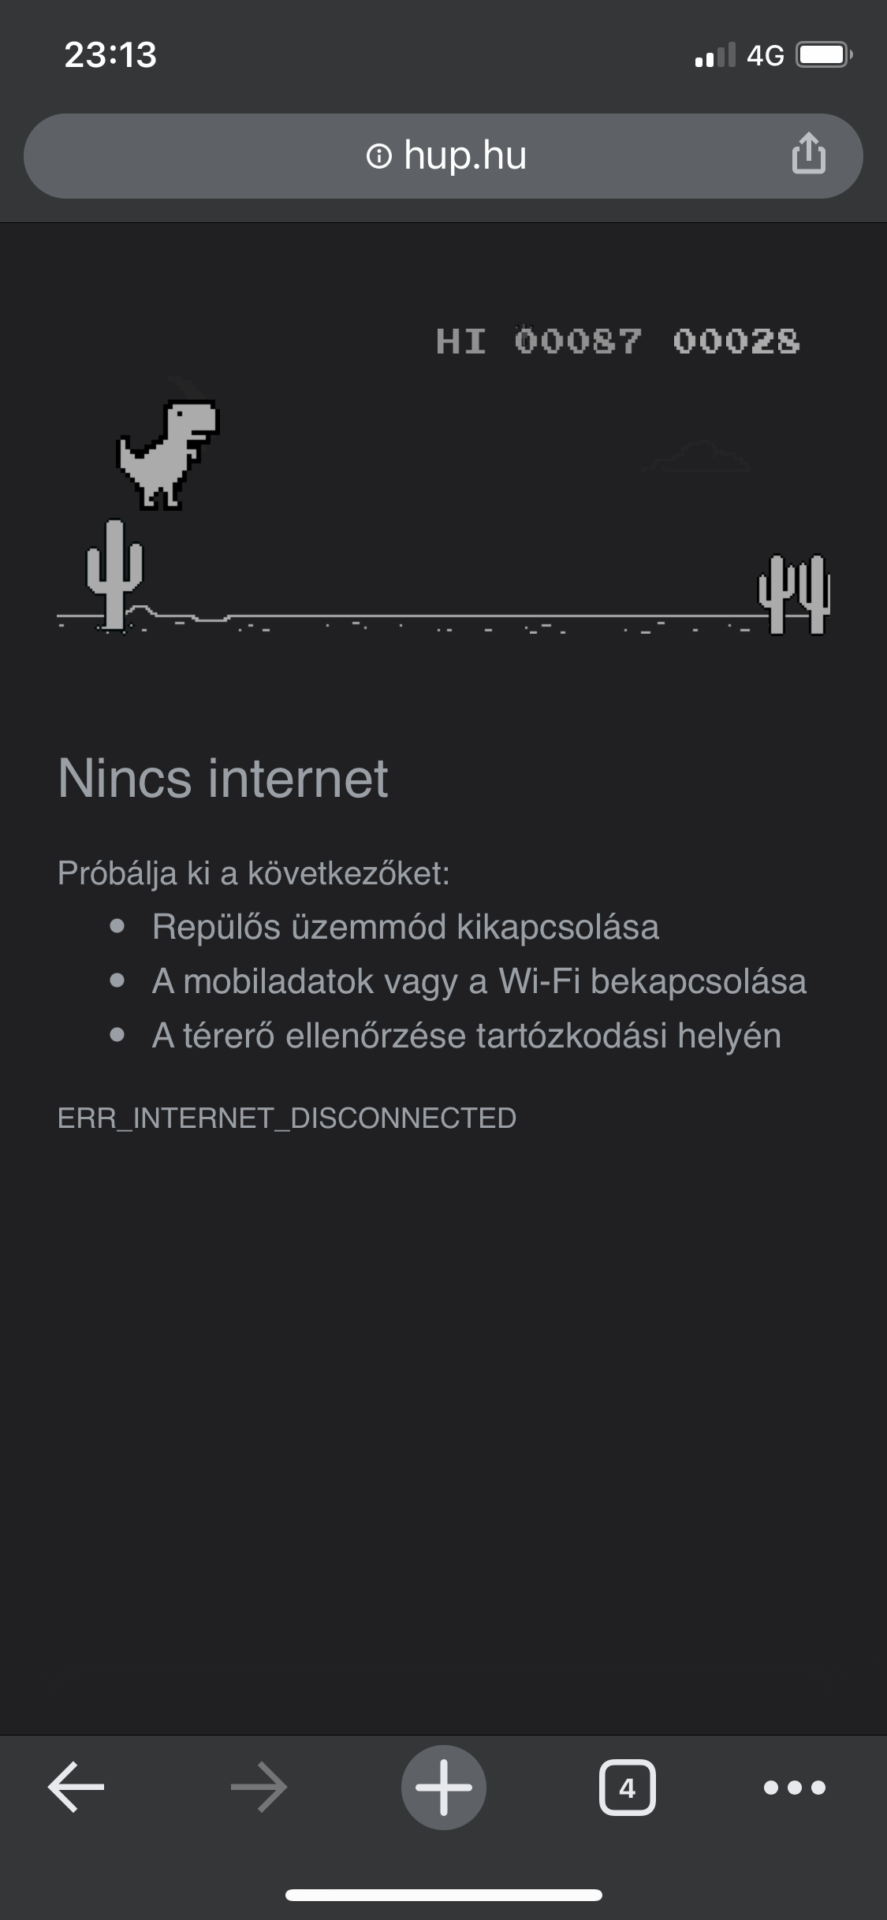
I accidentally clicked on the dino and suddenly it started. It’s not complicated, the dino goes to the edge of the screen by itself and you can jump with it, which you have to avoid the different obstacles. There is also a normal and a darkmode. After a while, birds also come, obviously if the dino attacks the cactus or the bird, it’s game over. I don’t know who was the programmer who created this, but I welcome you here too, I really enjoyed it 🙂

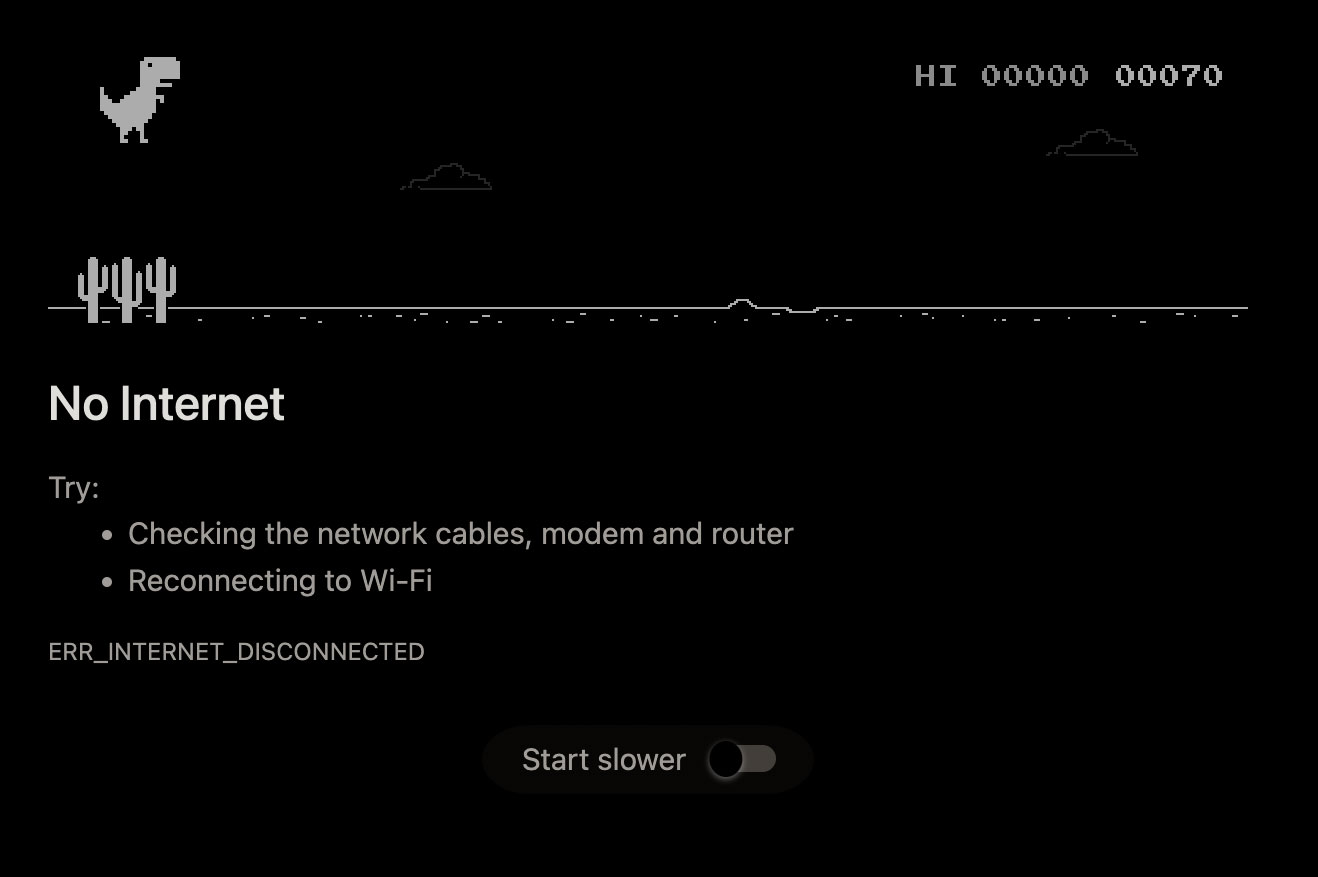
I looked it up and on the one hand it also works on desktop Chrome (there is also a sound and a speed adjustment option), in addition there is a dedicated command, you just have to type this into the Chrome browser bar:

chrome://dino/

Maybe someone else already knew this, but all jokes are new to a newborn 😀

Store item meta data after WooCommerce order, hook differences

Store item meta data after WooCommerce order, hook differences 1440 960 bacsoa

Today I ran into an interesting problem, I’d share with others, because I think there is confusion is quite big in the minds – at least in terms of the people of the Internet and some users of Stackoverflow.

There is a WooCommerce 4.8 (but I think it also affects other versions). The task is to execute something after placing an order in WooCommerce.

We have several options for this. A WooCommerce order is effectively a custom WordPress post (shop_order), therefore has a post_status field. Like standard WordPress posts, these have several statuses, and you can even set them custom ones. Usually, by default status is wc-processing. With an SQL query, we can check how many types of status orders exist in our WooCommerce online store:

SELECT post_status
FROM `wp_posts` 
WHERE `post_type` = 'shop_order' 
GROUP BY post_status

You can read more about Woocommerce order statuses and the Order object here.

This short introduction was necessary because it does not matter which status of the orders, what should be executed. Woocommerce offers several built-in hooks for this. What is a hook? This is a callback. What is a callback? Well, that’s when 15 things have to be explained so that you can understand one word at the end 🙂 You can read more about callback here. Read more about WordPress hooks here.

For transition management after the placed order, Woocommerce provides several hooks, such as these:

  1. woocommerce_checkout_order_processed
  2. woocommerce_payment_complete
  3. woocommerce_thankyou

You can find the full list here.

There are several different descriptions on the internet, and there are even differences between the Woocommerce versions. You also have to take care, and many people screw this up, that every hook has a different amount of parameters. If you hand over more, it’s no problem, but if you give less, it won’t even run. Unfortunately, there are some hooks that don’t throw an error, they just don’t work. In the end of example below 10, 3 means that it expects 3 parameters and runs with 10 priority. Because you can nest more than one, and one can overwrite the other, so that life is not so simple. This is especially worse if another plugin is already using it with some stupid 99999 priority and you can’t figure out why yours doesn’t work… 😀

Today, what I ran into is seems simple problem. I usually use the woocommerce_checkout_order_processed hook. It expects three parameters. The 1st is the Woocommerce order identifier (wc_order_id), the 2nd is the processed personal data (posted_data), and the 3rd is the order object itself (order class):


add_action( 'woocommerce_checkout_order_processed', 'exibio_woocommerce_order_processed', 10, 3 );
function exibio_woocommerce_order_processed( $wc_order_id, $posted_data, $order ) {
    // it runs after placing the order
}

This hook is executed when the order has already changed to processing status (so after wc-processed). Unfortunately, there are extensions that incorrectly use the item meta data that belongs to the order and is saved, i.e. the order item meta data (these are usually the custom fields, parameters, or even variables passed by users, etc.) belonging to the order and not the woocommerce_checkout_order_processed hook, but the woocommerce_thankyou hook. It is not meant for the same thing, but unfortunately many people confuse it or use it incorrectly.


For this reason, I waited in vain for the fields collected by a plugin among the meta data of the order, but it only became available only after the order was placed already. This was because the plugin did not save the meta data at the moment after processed, but at the moment after the thank you endpoint. This caused that even though I queried the order_itemmeta table on-the-fly during the loop after the hook, there was no information of the Woocommerce saved data.

First, after the woocommerce_checkout_order_processed hook, I used a simple SQL query (item_id is a variable in order object). Iterating the $items object with an SQL query:

global $wpdb;
$items = $order->get_items();
foreach ($items as $item_id => $item) {
$sql = "
	SELECT meta_value
	FROM wp_woocommerce_order_itemmeta
	WHERE `order_item_id` = {$item_id}
	AND (meta_key = '_sumo_pp_payment_id')
";

$result = $wpdb->get_results($sql, ARRAY_A);
if ( !empty($result) ) {
	$sumo_pp_payment_obj = $result[0];
	$sumo_pp_payment_id = (int) $sumo_pp_payment_obj['meta_value'];
}

}

The same, with a internal Woocommerce function, is more simple, but none of them returned results.

$items = $order->get_items();
foreach ($items as $item_id => $item) {
	$sumo_pp_payment_id = (int) wc_get_order_item_meta( $item_id, '_sumo_pp_payment_id', true );
}

Nothing. Then, when the order was placed (and the woocommerce_thankyou hook filter also processed, which happened after about 1 second), the content of the record called _sumo_pp_payment_id was already there. Lesson learned: the next time you run into one of these and you can’t find the given meta field, try all three hooks to see if that solution will be the winner.

Recommended reading:

  1. A WooCommerce error where the woocommerce_checkout_order_processed hook runs earlier than it should: https://github.com/woocommerce/woocommerce/issues/28113
  2. Why is woocommerce-checkout-order-processed is not working? https://stackoverflow.com/questions/45997729/any-idea-why-woocommerce-checkout-order-processed-not-firing-when-user-is-not-lo
  3. Using woocommerce_thankyou hook: https://stackoverflow.com/questions/43301940/woocommerce-thankyou-hook-not-working
  4. The woocommerce_payment_complete hook, which useful when you watch when paid an order:
    https://stackoverflow.com/questions/46686075/woocommerce-checkout-order-processed-hook-executing-function-twice

What does it take to be a (WordPress) web developer?

What does it take to be a (WordPress) web developer? 2000 1331 bacsoa

I see that there has been a shortage of IT professionals for years. For this reason, programming, system administrator and IT training courses have been started at several companies in Hungary (and the other countries too) for several years. Now I describe what I think is necessary to create WordPress websites based on a unique/custom webdesign or template. The order is important, don’t start with point number 3. If you don’t understand point number 1, you won’t understand point number 2 either.

1. HTML

Learn the basics first. As a markup language, HTML unifies what makes the content displayed in a browser look almost the same on all platforms (e.g. Linux, Windows, MacOS, Android, iOS) and in all browsers (e.g. Firefox, Chrome, Edge). Because what happens when you type a web address into a browser bar? For example this: https://www.w3schools.com/html/

The browser retrieves (fetch) the page, content, file, whatever corresponding to the entered address. This called request. This is processed by the (web)server (which is on the “other side”) that receives this request, then process and responds to us. This is called a response. It is important to write all of this in English, because you won’t find too many useful things in Hungarian (or other non-English language), so I would also include a basic knowledge of the English language in a not so bracketed zero place. After processing, we receive the processed response, which in this case is an HTML code. The developer of w3schools.com has already made the answer (aka response) for this web address, i.e. a web page, which he converted into HTML. It’s HTML because it’s the standard browsers language. There are also other standards, for example JSON, XML, which not used for browsers, but to serve other applications and needs.

So all Internet “surfing”, like browsing, contain of a continuous repetition of requests and responses. The browser first finds for the domain name associated with the web address, which in this case is w3schools.com. Then looks up the domain name server (aka DNS) for the domain name, which is an IP address. An IP address is a unique identifier of a host or computer. Let’s stay with the above case. The IP addresses of the servers belonging to the domain names are public, otherwise how could the browser retrieve them? 🙂 Anyone can check them, even you. The simplest method is a terminal, if you have MacOS or Linux, you enter one of the these commands:

We need A record (also known as Address record) that serves the domain name w3schools.com. If you are interested in the other DNS record types, have a look here. If you’re lazy, you can do the same with a whois provider. In this case, I tried https://who.is/dns/w3schools.com, with this result. We are interested in the DNS Records section, there are the Domain Name Server records.

So when you enter a HTTP(S) location in the address bar, the browser looks for the server belonging to record A (66.29.212.110) and starts a request. The server https://www.w3schools.com/html/ processes this request and you get back a result, in this case this:

What you see in your browser is a generated HTML code. Let’s see how it looks. If you’re using Chrome, right-click anywhere on the page that isn’t a link or an image (any empty area) and choose View Page source.

You can also choose from the menu. To do this, select the menu item View / Developer, then View Source.

Either way, you’ll end up seeing something like this:

To create websites, you need to write such HTML code so that visitors see something like this, finally:

Therefore, it is absolutely important that if you want to create websites, you should be know what HTML is. Without this, you will only be groping in the dark, (in the case of WordPress) and you will create websites from already made themes and plugins (by other web developers). Which will be fine as long as the client is satisfied with what the template you are using allows. In other words, if the logo is on the left side of the template, but the client wants it on the right side and you don’t understand HTML, and the template doesn’t support this, you won’t be able to do it, because you don’t even know how a website is structured. I also show W3schools.com as an example because it explains and teaches you the basics very simply. I think it can be learned in a maximum of 2 days, because it’s really not complicated. If you already have the basics, you can practice, there are very good free sites where you can practice and solve specific tasks, here are a few examples:

2. CSS

CSS (abbreviation of Cascading Style Sheet) is a style sheet language for formatting HTML code. HTML developed together with CSS, almost parallel to each other. If you are interested in the whole story, look at this. You can formatting HTML elements using CSS. For example, a type of colors, size, letter-spacing and more. You can specify margins and padding and about a thousand other things. Basically, with knowledge of HTML and CSS, you can already create a working website, also mobile version. Staying with the original example, let’s see what this means in practice.

I’m introducing one of the most useful tools a web developer could wish for it’s called Chrome’s Inspector (Firefox, Edge, and Safari also have it). In the old days, when there was no Chrome, we mostly used Firefox, it had a tool called Firebug, which was its predecessor. In the https://www.w3schools.com/html/, open the Developer tools. MacOS hotkey: CMD + OPTION + i, Linux / Windows hotkey: CTRL + ALT + i. You can also open it from the menu (it’s called Developer Tools):

You can see this:

With this tool you will see two sections in parallel, it is a bit like a translator. Above is the generated HTML code, and below is the source code. You can also move this Developer Tools to the right and left. Good stuff for sure. Not only the HTML code is visible, but also a lot of other things. I don’t want to go into too much deep, because this article is not about that, but among other things, we can display errors (because it has console too), as well as loaded functions, cookies and much more. Oh, and it also has a complete mobile device emulator, with which we can see how the website displays on an iPhone or Samsung phone or tablet. If you hover your mouse over the elements in the bottom bar, it will show you how the mouseover actually looks on the website. It is clear that what is light blue at the bottom (I highlighted it separately with a red frame) is also colored with light blue at the top. What you select at the bottom is shown in parallel at the top.

I don’t think there is a better way to understand HTML, because you can immediately everything and their dependencies/relations. There also interesting is the Styles tab on the right. Here you can see all CSS definitions per file and per parent.

CSS formats the HTML elements, aligns them next to each other, above them, colors them, adjusts the margins and proportions. For example, the example URL has the main menu at the top, a light gray sidebar on the left, the content in the middle, and a sidebar on the right. The location of these main containers was planned in advance by someone (e.g. a web designer or UI designer), and then the developer assembled it from HTML elements based on the accepted visual design. How did he/she do it? He/she learned what types of elements exist in HTML (eg. div, span, p, section, header, footer, etc.) and then placed them next to each other and styled them with CSS so that it was exactly as it now appears in a browser.

CSS is not as easy to learn as HTML. It is much more complex and thanks to the different browsers, it often happens that an accepted rule works in one browser and not in another, or not exactly the same. This is mostly due to the browsers internal HTML “translator”. Anyone interested in different browser engines and renderer engines should take a look at this. I’m currently reading a book (Peter Thiel: From Zero to One), in which the first browser, Netscape Navigator, is mentioned in the first chapter. In 1997 at my first job , I already had Internet access and I also used Netscape Navigator. Another very useful site is Can I Use? where you can see almost every CSS definition, which browser supports it and from which version. In the old days, when Internet Explorer was still around, we suffered a lot with the fact that what worked in Firefox, Safari, and Chrome (aka the good browsers) could also work under Internet Explorer. This piece of shit is a shame for Microsoft, which luckily EOL of and replaced it with a Chromium-based browser, called Edge. This is practically a Chrome, it can be used with confidence, it finally works as a standard. If you are interested in the different browser engines (Webkit, Blink, Gecko, etc.), visit here.


This diagram display how a browser works. The User interface (red color) manage and use by the visitor, who only reads the pages, presses the buttons on the interface, enters the web addresses in the menu bar, etc. The Browser engine (blue color) is the core of the browser. It keeps in touch with the “other world”, i.e. with the rendering engine, handles requests, distributes resources, receives data from the UI (user interface) and the translation part. The Rendering engine is the most important part. He renders, i.e. processes and draws, displays the interpreted HTML, CSS, and other data. What we finally see in the browser depends on the rendering engine (purple box). The Networking (green box) handles the request-response part, the Javascript interpreter executes the Javascript codes, he is also a kind of compiler, aka translator. The UI (User Interface) backend draws the form elements, buttons, the browser window itself, and so on based on the appearance inherited from the window manager defined in the operating system you use. This is not the browser part, but is belongs to operating system. That is why a scroll bar, form field, drop-down list and the browser looks different under Windows 10, MacOS, Ubuntu or any other operating system. The Data persistance (orange box) is a data layer. All data is stored here, e.g. the cookies. I took the original of the figure from here.

3. Javascript

Javascript is basically an object-oriented programming language that you will definitely meet during web development. I’m not saying it’s essential for website development, but it’s hard to avoid. Especially if you want to work with data on the client side (in the browser). It was developed for the first browser, Netscape, and is basically similar to the Java programming language (Java at that time). In the last 20 years, it has massively developed and several independent programming languages ​​have “grown out of it”, like they use the same concept and syntax. Examples include TypeScript, React, Angular (which predecessor of TypeScript) or Node.JS. Then there are so-called frameworks and libraries, which “simplify” Javascript, one of them is jQuery, which is still popular today (and is also used by WordPress).

If we have already learned the elements of the HTML language and know what the DOM (Document Object Model) is, we can use Javascript to manipulate these DOM elements in browser. This is good because there are many times when we have to watch behaviour of the user. For example, you move the mouse to a specific part of the browser and when this happens, we pop up a window with a text asking you to subscribe to the newsletter, or similar. We can solve this with Javascript. Or the visitor starts scrolling and when he reaches a certain point, we shrink the main menu and stick it to the top of the page (it called sticky menu, you’ve probably seen it before), then when he scrolls back, we enlarge it again. Or you click on a link and we scroll to another section of the page. There are a lot of them and you can’t solve this without Javascript. WordPress uses jQuery for this, which simplifies the most frequently used Javascript commands and we can do the same with less typing.

I’ll show you an example. What we want to do is to display a message in the browser by clicking on each button with a given property (eg. all Add to Cart buttons with specified class).

This code looks like this in plain Javascript, or when used in a funny way in Vanilla JS (look at this Stack Overflow article):

const addtocartButtons = document.querySelectorAll('.addtocart')

for (const addtocartButton of addtocartButtons) {

	addtocartButton.addEventListener('click', function(event) {

		event.preventDefault()
		alert(`You clicked Add to cart button!`)

	})

}

When you click on any element (button, link, whatever) which has “addtocart” class, this code shows up a warning window in the browser with “Add to cart button” message! The same code in jQuery looks like this:

$(`.addtocart`).click(function(event) {
	
	event.preventDefault()
	alert(`You clicked Add to cart button!`)

})

It much easier, right? It is no coincidence that his slogan is “Write less, do more“. jQuery solves version problems between Javascript versions, because Javascript has also developed over the years, but browsers have not always or not followed this development in the same way, so it is possible that the previously described piece of code, which is already ES6 written according to the standard, it won’t work in a browser before 2015. jQuery, on the other hand, handles this and almost all its versions (jQuery also has version numbers and development cycles) work with almost all versions and types of browsers.

4. PHP

The programming language, which has already been gave up on it many times, is still alive and in fact, it is experiencing a renaissance in recent years. It is important to know and not to confuse what it is for. Even in its name, it’s clear what the PHP language was invented for. It was originally abbreviated as Personal Homepage Tools. Later, when it started to develop and became an independent programming language, it was renamed Hypertext Preprocessor. PHP can do much more than its name implies (I think a new name would do better, but I guess they haven’t come up with a new meaning for this three-letter abbreviation), an object-oriented programming language (partly since 4.0, completely since version 5), with which practically any system can be build. If you want to create websites in WordPress, it is often enough to use only the preprocessor, i.e. the processing part of PHP, i.e. you process the received data and display with it. What does this mean in practice, like in WordPress?

WordPress is an open source CMS (Content Management System) framework written in PHP. Since WordPress was originally written in PHP, you can access and extend all functions, and classes in PHP. Therefore, if you don’t know the basics of PHP, you won’t be able to do any custom processing or queries. Preprocessor is not a very good meaning, because we often use it not only for pre-processing, but also for post-processing. So there is a request, PHP converts it into a query (in SQL language) to the SQL database, then it receives the response from the SQL database, PHP also performs the post-processing too, so the interpreted request is processed and display to the user on the screen.

There are a lot of classes and functions in WordPress. To do this, you obviously need to understand the difference between procedural and object-oriented programming, but I won’t go into that right now. WordPress has a lot of built-in functions and classes (written in PHP, of course), which are needed so that we don’t have to write SQL queries, or convert dates into non-English format, or sanitize a character string, etc. If we know PHP syntax, it will be easy to understand how a template or even a plugin works, since they are also in PHP.

Another great advantage of PHP is that it can display and process any HTML code. If you understand 1. HTML and 2. CSS sections, then with the PHP you will be able to write not only static HTML pages, but also dynamically generated, more complex websites. Because with PHP, it is also possible to create a website (which basically has three parts: 1. Header 2. Content 3. Footer) dynamically display and replace any content, generate an HTML code from it, which browsers display.

Another very important difference between Javascript and PHP is that PHP runs on the server side, while Javascript runs on the client side. So, PHP runs on your web server and interprets the commands you write in files with the .php extension, the visitor will never see the PHP code, he will only see the output, likde the HTML (PHP processed) generated code. Let’s see what this means in practice. Look at this PHP code snippet:

<div class="content">

<?php if ( is_super_admin() ) { ?>
	
	<p>This text see only an administrator.</p>
	
<?php } else { ?>
	
	<p>Everyone can see this text.</p>
	
<?php } ?>

</div>

This code uses WordPress internal function called is_super_admin in a condition with PHP. Checks if the visitor is an administrator. It also checks the visitor is logged in or not. It’s a fairly common request from my clients that: “Can you make this part of the website visible only to logged-in users?” Of course! Since I know the syntax of PHP and I know the is_super_admin() WordPress function, I already solved it by writing two branches linked to a condition.

So if you don’t know PHP, your next step will be to start searching for plugins for the functionality requested by the client. You have 50% chance of finding a solution. It’s only 50% because most problems already have plugin. However, it is almost certain that it will not work exactly as the customer asks. The next step is to convince the client to do it the way you think (or as the plugin was written, because you cannot do it). If the client does not agreed with it, then you are looking for another extension. Then you find yourself having to install 3 plugins instead of looking into PHP and the WordPress codex and solving it with 1 line of PHP code. Or you could use Google. The immeasurable amount of time you spend searching for plugins and templates could have been spent more useful, and you could have learned 5 frequently used WordPress functions. Or, for example, how to write a loop in PHP. Or what is a loop? Or what is the condition.

Learning PHP is easy, there are so many sites for that. I think are the two best of them:

5. SQL

I’ve been making WordPress themes for about 3 years without writing a single line of SQL code. Why? Because WordPress did it for me. It has a lot of functions that. It fetches data from the database according to specified parameters, and then returns it exactly as it should. So why here SQL? WordPress stores all data in a MySQL-based database. Sooner or later you will get to the point where you want to write your own queries, because your client, for example asks you to export all users whose first name is Attila. You can solve this with WordPress internal get_users function, or you can write an SQL query for it. Needless to say which one is faster. Let’s look at the two different solutions of the previous example, I think it illustrates well.

The PHP-way with WordPress get_users function:

$args = array(
    'meta_query' => array(
    'relation' => 'AND',
	    array(
	        'key'     => 'last_name',
	        'value'   => 'Attila',
	        'compare' => '='
	    )
	)
);
$users = get_users($args);

The SQL-way, read directly from WordPress SQL database:

SELECT *
FROM `wp_users` AS wpu
	INNER JOIN `wp_usermeta` AS wpum ON (wpum.user_id = wpu.ID)
WHERE wpum.meta_key = 'last_name' AND wpum.meta_value = 'Attila' 
GROUP BY wpu.ID

This example is not so simple, because it includes join-clause query, but it simple shows how much easier it is to communicate in the native database language which uses by WordPress. SQL is one of the best things that ever happened to the programming world. Small toolbox, extremely fast and even works on multiple threads. Is there anything better than this? I don’t think so. MySQL gives you the feeling of switching to a Linux-based operating system after Windows and learning to manage, monitor and operate a system. Total freedom.

This article is a bit long, but I feel that these 5 points are necessary to be able to do almost everything in WordPress. If a gun were held to my head and I had to choose only the most important ones, these three would remain:

  1. HTML
  2. CSS
  3. PHP

If you know these three, you’re well on your way to becoming a skilled web developer.

Always learn, because knowledge is power and the best investment yourself!

Ubuntu 18.04 server upgrade to 20.04 Focal Fossa

Ubuntu 18.04 server upgrade to 20.04 Focal Fossa 1280 720 bacsoa

My last two days have been about installations and updates. Yesterday I had to install an Apache, PHP, MySQL combo on my new Macbook Air M1, and today I did the long overdue Ubuntu 20.04 update on my production server. This post is about the Ubuntu upgrade, but maybe I will also describe the M1 Silicon LAMP installation, it was a bit more challenging.

My server has been with Digital Ocean for a year and a half, then it came with Ubuntu 18.04, but it is already 2021, and Focal Fossa came out last year and it was time for the upgrade. There is a detailed English howto on the Digital Ocean website, but if I had only followed it, I would be in trouble now, because I had a small problem during installation (see later).

1. Preparations

I saved three things:

  • webserer files
  • MySQL databases
  • /etc directory

I started by dumping the MySQL databases, a 3-line batch file (let’s call it “backup-sql.sh”) with the following content is suitable for this (“nano backup-sql.sh” command can be used to edit the file, which creates it immediately). You can also use Midnight Commander, but first create it with the “touch backup-sql.sh” command):

#!/bin/sh
for DB in $(mysql -e 'show databases' -s --skip-column-names); do
     mysqldump $DB > "$DB.sql";
done

It also needs execution rights, because in Linux new files do not get such by default:

chmod 500 backup-sql.sh

After running, an SQL file is created from each database in the current directory. I don’t want to deal with what it takes to prevent the MariaDB password from being asked for the logged-in user, but for those who are interested, here is an article about it. So we now have execute rights to the file, we simply run it:

./backup-sql.sh

Once this is done, the /etc directory can be added. This is useful because if, after the Ubuntu 20.04 update, the installer overwrites something and then it won’t work (e.g. postfix/mailing, SSH, openssl, whatever), we can restore it from the old config file, and see if what worked before, why not now, so we can compare the two different version. This command is also run at /var/www/html in the terminal (or from where we will run the rsync):

root@xact:/var/www/html $ tar -zcvf ./backup-etc.tar.gz /etc

The rsync command looks like this under MacOS (user@1.2.3.4 is the address of our server, and /var/www/html is the directory where we have the files to be backed up, obviously the previous command called backup-sql.sh it is also worth putting it here and running it from here so that the SQL dumps are also placed here):

rsync -avr --progress -L user@1.2.3.4:/var/www/html/ /Users/macusername/Documents/backup-directory

The -L switch means that rsync will follow the symlinks and copy them over as well. I don’t have much space on the first partition, so most of the websites are under /mnt (I mounted another volume here). Due to the standards of the Apache configuration, it is symlinked under /var/www/. If the -L switch is omitted, it will copy only the physical files, so only those under /var/www/html.

This takes a while, depending on how many virtual hosts (websites) there are on the webserver and how many files there are.

The backup is done. Before we start the upgrade, it is worth SSH into the server with a user with SUDO rights on a terminal and switch to root, in case a crash occurs during the installation, we have an extra leg. If we do not do this and the install stops, we may not be able to SUDO, i.e. we will lose control over our system. So before do-release, we SSH into the server with a user with SUDO rights (this is important!):

ssh user@1.2.3.4

Then switch to root user:

sudo su

I started the installation in Digital Ocean’s built-in Java console from a browser, but it can also be done from SSH (but even then, start a separate SSH session as described above).

2. Installation

After entering the shell, the first thing you should do is stop essential running services, do not start an operating system update on a live system. I stopped Apache and MySQL, but if you have NGINX with PHP-FPM or anything else, you should also stop them:

sudo systemctl stop apache2

Then stop the MySQL too:

sudo systemctl stop mysql

One more check, to make sure it stopped:

sudo systemctl status apache2
sudo systemctl status mysql

If we see Active: inactive for both, we can start the update with this command:

sudo do-release-upgrade

Then the following screen will appear:

Here, of course, press ‘y’, if you press ‘N’ (case sensitive!), the installer will exit. Then we’ll see something like:

It informs here that the new Ubuntu 20.04 system no longer supports 2 packages compared to the current one, 13 packages will be removed, 208 packages will be uploaded and 665 packages will be updated. It’s funny that if we went back 20 years in time, when we still used a 56k modem (who was born around the 80s, like me), then the 508MB of installation data would be downloaded in 19 hours 🙂 I pressed it here a ‘d’ because I was curious about the details. If you are not interested, press ‘y’ (case sensitive!). So when I pressed ‘d’ I got this:

PHP 7.2 will be removed, which is not a problem, because I wanted to upgrade to 7.4 anyway (in fact, 8.0 is already here), and a few Apache2 modules too. And then here is this question, which makes it worthwhile to SSH in a separate terminal session:

Here it says that a lot of services will be restarted and if something breaks, you won’t be able to log in (not even via SSH).

After that, we will see a lot of things on the screen and the Ubuntu installer will ask many things. Especially ones where the existing config file differs from the one we want to install. I overwrote most of it, mostly the ones I knew I hadn’t touched. However, I left the 18.04 version of what I adjusted a lot (e.g. opendmarc). I haven’t had any problems until now:

I’ve pressed a ‘D’ here to show the differences. Anyway, this is the SSH config, where I setup like so that it is not possible to SSH to the server with a password, only with an SSH key, etc. However, for some reason, after pressing ‘D’, the system threw me back here:

It was also a bit strange that I would get this screen back after a question in the middle of the installation. Since it had been doing the installation for a while, I even thought it was completed, so I checked the server version:

Everything seems OK, right? Unfortunately no, all that happened here was that the basic package was already updated, so the content of the /etc/issue file was updated to the new operating system version number, but everything else remained the same. So the installation was aborted. I checked the PHP version, which was still 7.2 on 18.04, but it should be 7.4 on 20.04, and my suspicions were confirmed:

I thought I would enter the do-release-upgrade command again, but it didn’t help:

The problem is already visible here, the installer tells do-release-upgrade that there is no developer version, i.e. the system is already the latest. However, when dist-upgrade -f (‘-f’, i.e. force switch is required!) command is entered, it appears that the dpkg package manager stopped during the update, so enter this command:

sudo dpkg --configure -a

So it was good, dpkg started to continue the update process. The question came again:

Now, instead of show the differences (the installer stopped here first, and I didn’t care because I had already backup the entire /etc directory), I overwrite the old one with the latest config file. Then came up a lot of similar questions, I pressed Y for almost everything (except e.g. opendmarc). Some errors were encountered:

The dpkg completed, but lxd-client failed to update. Then I re-enter this:

sudo apt dist-upgrade -f

Then started to update again, including this issued LXD client:

I have no idea what it was, so I pressed a ‘latest’ (even though the installer recommended 4.0). The update process continued, and then came this:

What I knew I hadn’t touched after configuring 18.04 (this was my first Ubuntu version) I overwrote with the new version (so I pressed ‘Y’). After it finished updating the packages, it also wanted to update the GRUB:

Since there is no other operating system on my server, only Ubuntu, I chose the ‘package maintainer’s version’ option here. There are also remain config files, for example for Midnight Commander:

I accidentally overwrote this, so on 20.04 I had to setup again so that clicking backspace goes back a directory up (since this setting is stored in mc.keymap file, see here for a howto). Then came the Opendkim config question:

I pressed N, because I spent a lot of time authenticating my email addresses, and I don’t need to setup again. Almost in the end there was another one like this:

I chose Yes here because I want to set this manually in the future. Some questions about databases, passwords, etc.:

After that, the installation was finished, which was indicated by a short ‘done’ message. After restarting, I pressed an update and removed the no longer used packages (do-release-upgrade would do this for us anyway):

sudo apt autoremove

Then I restarted the server:

sudo init 6

After restarting, the usual screen welcome me:

I checked the php version again:

All’s well that ends well. Thanks to Zoltán Szécsényi for the help with the installation!

Switching to a Macbook Air M1

Switching to a Macbook Air M1 2000 1500 bacsoa

This is my 4th Mac. The previous Macbook Pro with Touchbars from 2017 was a nightmare. On the one hand, because of the keyboard, which I had to do twice – fortunately in a factory recall – and on the other hand, because of the touchbar. At first it seemed like a good idea (it useful in Photoshop), but on the Macbook are already less keys compared to a desktop PC, and then even the function keys were taken away…horrible.

The M1 came out last year, which I knew nothing about, but based on the tests, it was convincing. It’s fast and relatively cheap. I mean, compared to an Apple product 🙂 I had an attempt a few months ago to install Linux for a Lenovo notebook to make it easier to try new things (Ubuntu, PHP 8, Redis vs. Memcached, etc.), but it was not good. Instead of that, I put it on my old Macbook Pro on a separate Ubuntu partition, it works perfectly fine. The fact is that the Macbook keyboard and especially the trackpad are simply perfect.

Anyway, back to the M1. I’ve been using it for 2 weeks and I’m mostly satisfied.

Advantages:

  • Fast. Everything opens immediately and 8GB of RAM is more than enough. At least for me, who works with Atom or Sublime Text and Photoshop / Illustrator every day. In addition, about 20 Chrome tabs and 3-4 Firefox tabs are also open. Plus the Slack, Viber and Telegram all the time. I don’t feel that 16GB is needed at all, but the 512GB SSD is.
  • Keyboard. I finally got back the comfortable typing experience. Apple also realized that development with butterfly mechanics was a dead end. So they returned to good old scissor-mechnanism. A thousand times better.
  • Trackpad. There is no need to explain this, it is the best trackpad in the world. This is one of the reasons I work on a notebook and not on a desktop, because the keyboard and trackpad are close to each other, so I don’t have to move my hand to the right of the mouse and therefore lift my hand from the keyboard. It is much more efficient to work this way. I write the code in a text editor all the time, while I look at and test the operation of the website, which requires a mouse. I’d go crazy if I had to do this with a separate mouse.
  • Kedvező ár. I bought this machine without VAT, but it was brand new with Apple warranty of course. If you look at Apple’s price, it’s still good enough. You will not get a good computer that is fast and reliable for less than EUR 500. Neither in desktop version I think.
  • Battery time. It’s not like it matters, because it hasn’t been a problem so far (and it’s constantly plugged into the charger anyway), but it’s good enough that after 2-3 hours of surfing the net and watching YouTube videos in the evening, the battery drains by 10%. This really gives you 14 hours of work time.

Disadvantages:

  • Compatibility. It is a fact that some programs do not run at all or not perfectly on the Big Sur OS. The Atom text editor I’m working on freezes all the time. So now I’m back to good old Sublime Text, it’s perfect. Setting up SSHFS took me about 3 hours because a lot of things were changed in Big Sur, so it was not easy to setup. After a reboot, the installation of Kernel-level add-ons, etc., must to be enable.
  • Brew package manager does not working properly. Brew is instead of the package manager of some Linux distros (e.g. apt, yum, pacman). Many things are missing by default under MacOS (e.g. Midnight Commander), for which Brew offers a solution. It’s pretty much in beta state right now. So much so that I uploaded it and then it disappeared 🙂 Then I installed it again and now it’s not working. I’ll wait with it for now.

Photos